
GAME INSTRUCTIONS:
You are a Rebel Commander attempting to take hold of the planet to keep it from falling under Imperial control. You will direct your troops to take certain actions to help achieve this goal. You are provided with regularly updated information about the outcome of the orders you give your troops, as well as intelligence about actions the Imperial troops have taken.
Your Orders
Each turn you may provide up to 2 orders to be carried out by your troops (i.e. units). Each order is chosen from among these possible actions:
- Move
- Build
- Attack
Move
Move one unit from any one location to any other adjacent location (horizontal or vertical movement only, not diagonal), even if that location has enemy units present
Build
Build one additional unit at a single location where you have at least one unit present and no enemy units are present
Attack
Attack all enemy units present at one location using all your units present at that same location - a single die roll (1-6) by each side determines the winner, with the attacker getting +1 to their die value per unit present and defender getting +1 to their die roll for each unit beyond the first unit, a tie going in favor of the defender.
Turn Sequence
- First Rebel action
- First Imperial action
- Second Rebel action
- Second Imperial action
The second action you ordered could become impossible to carry out, depending on the outcome from the first Imperial action. Because of this it's important that you consider, not only which actions to take, but also the order in which those actions should be carried out.
The first side (Rebel or Imperial) to hold at least 6 of the 9 planet locations by having at least one troop unit present in each of those spaces and no enemy troop units in any of those same spaces takes the planet and is declared the winner.
The Board
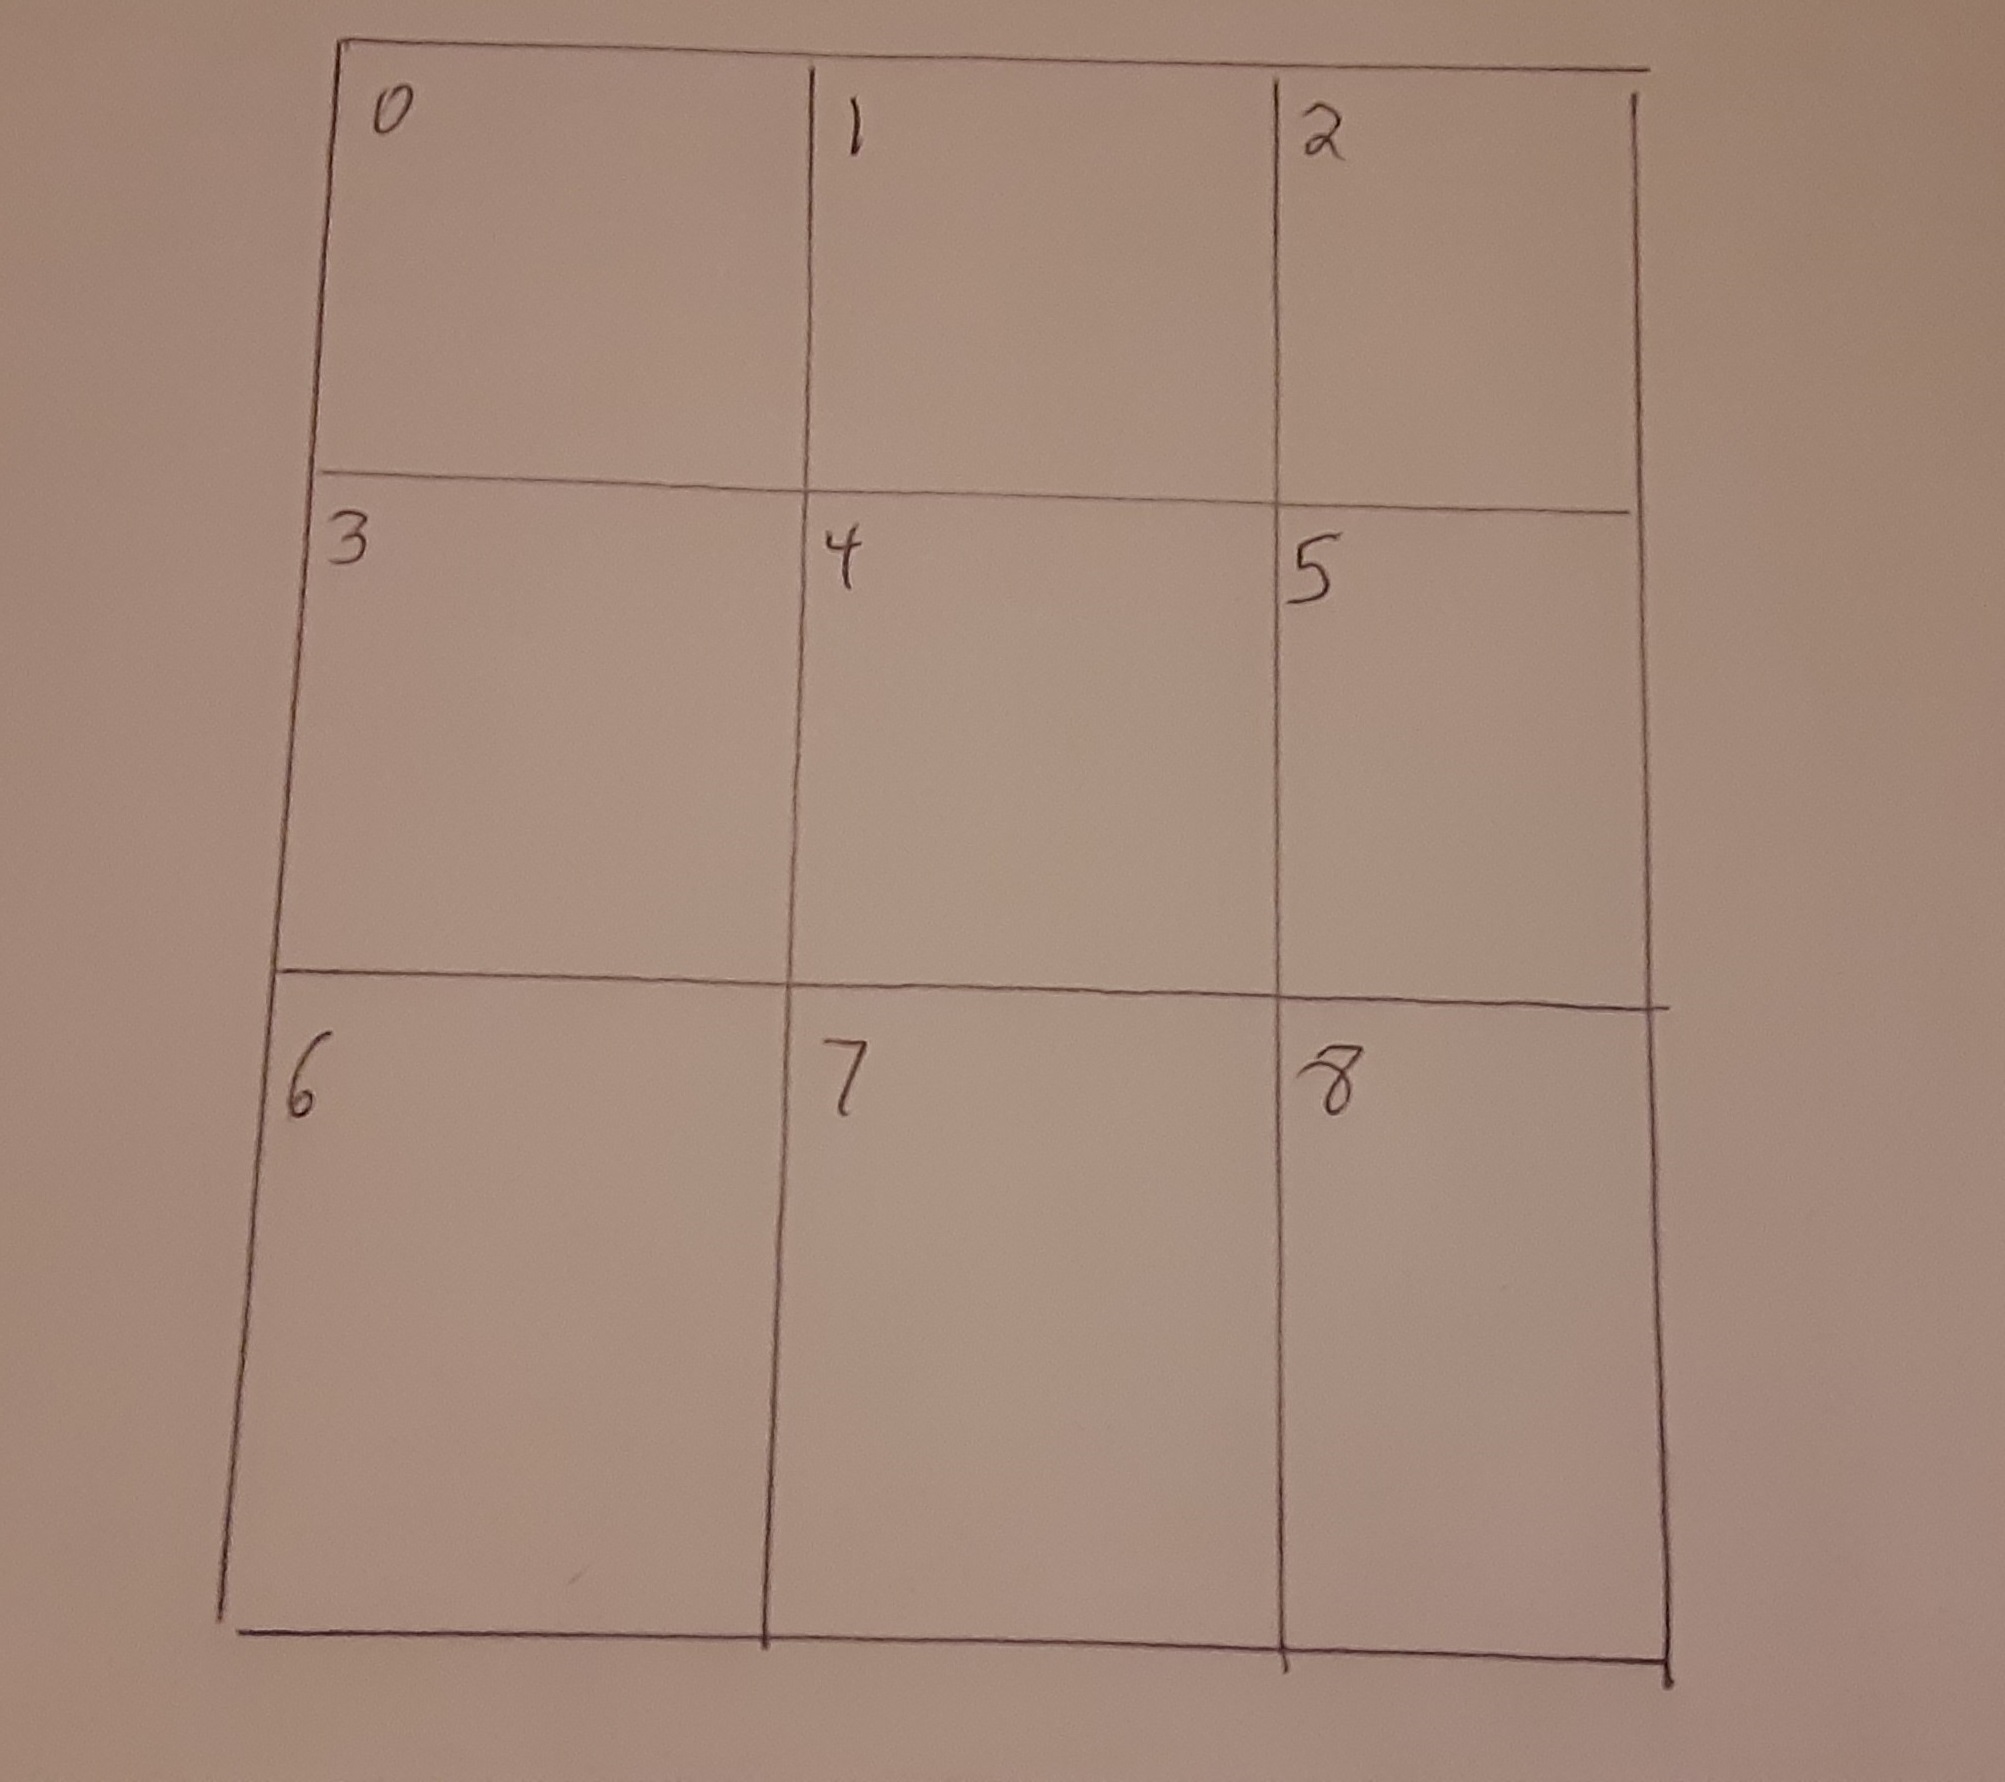
To play, draw a 3 x 3 set of squares of a piece of paper as a board as shown:
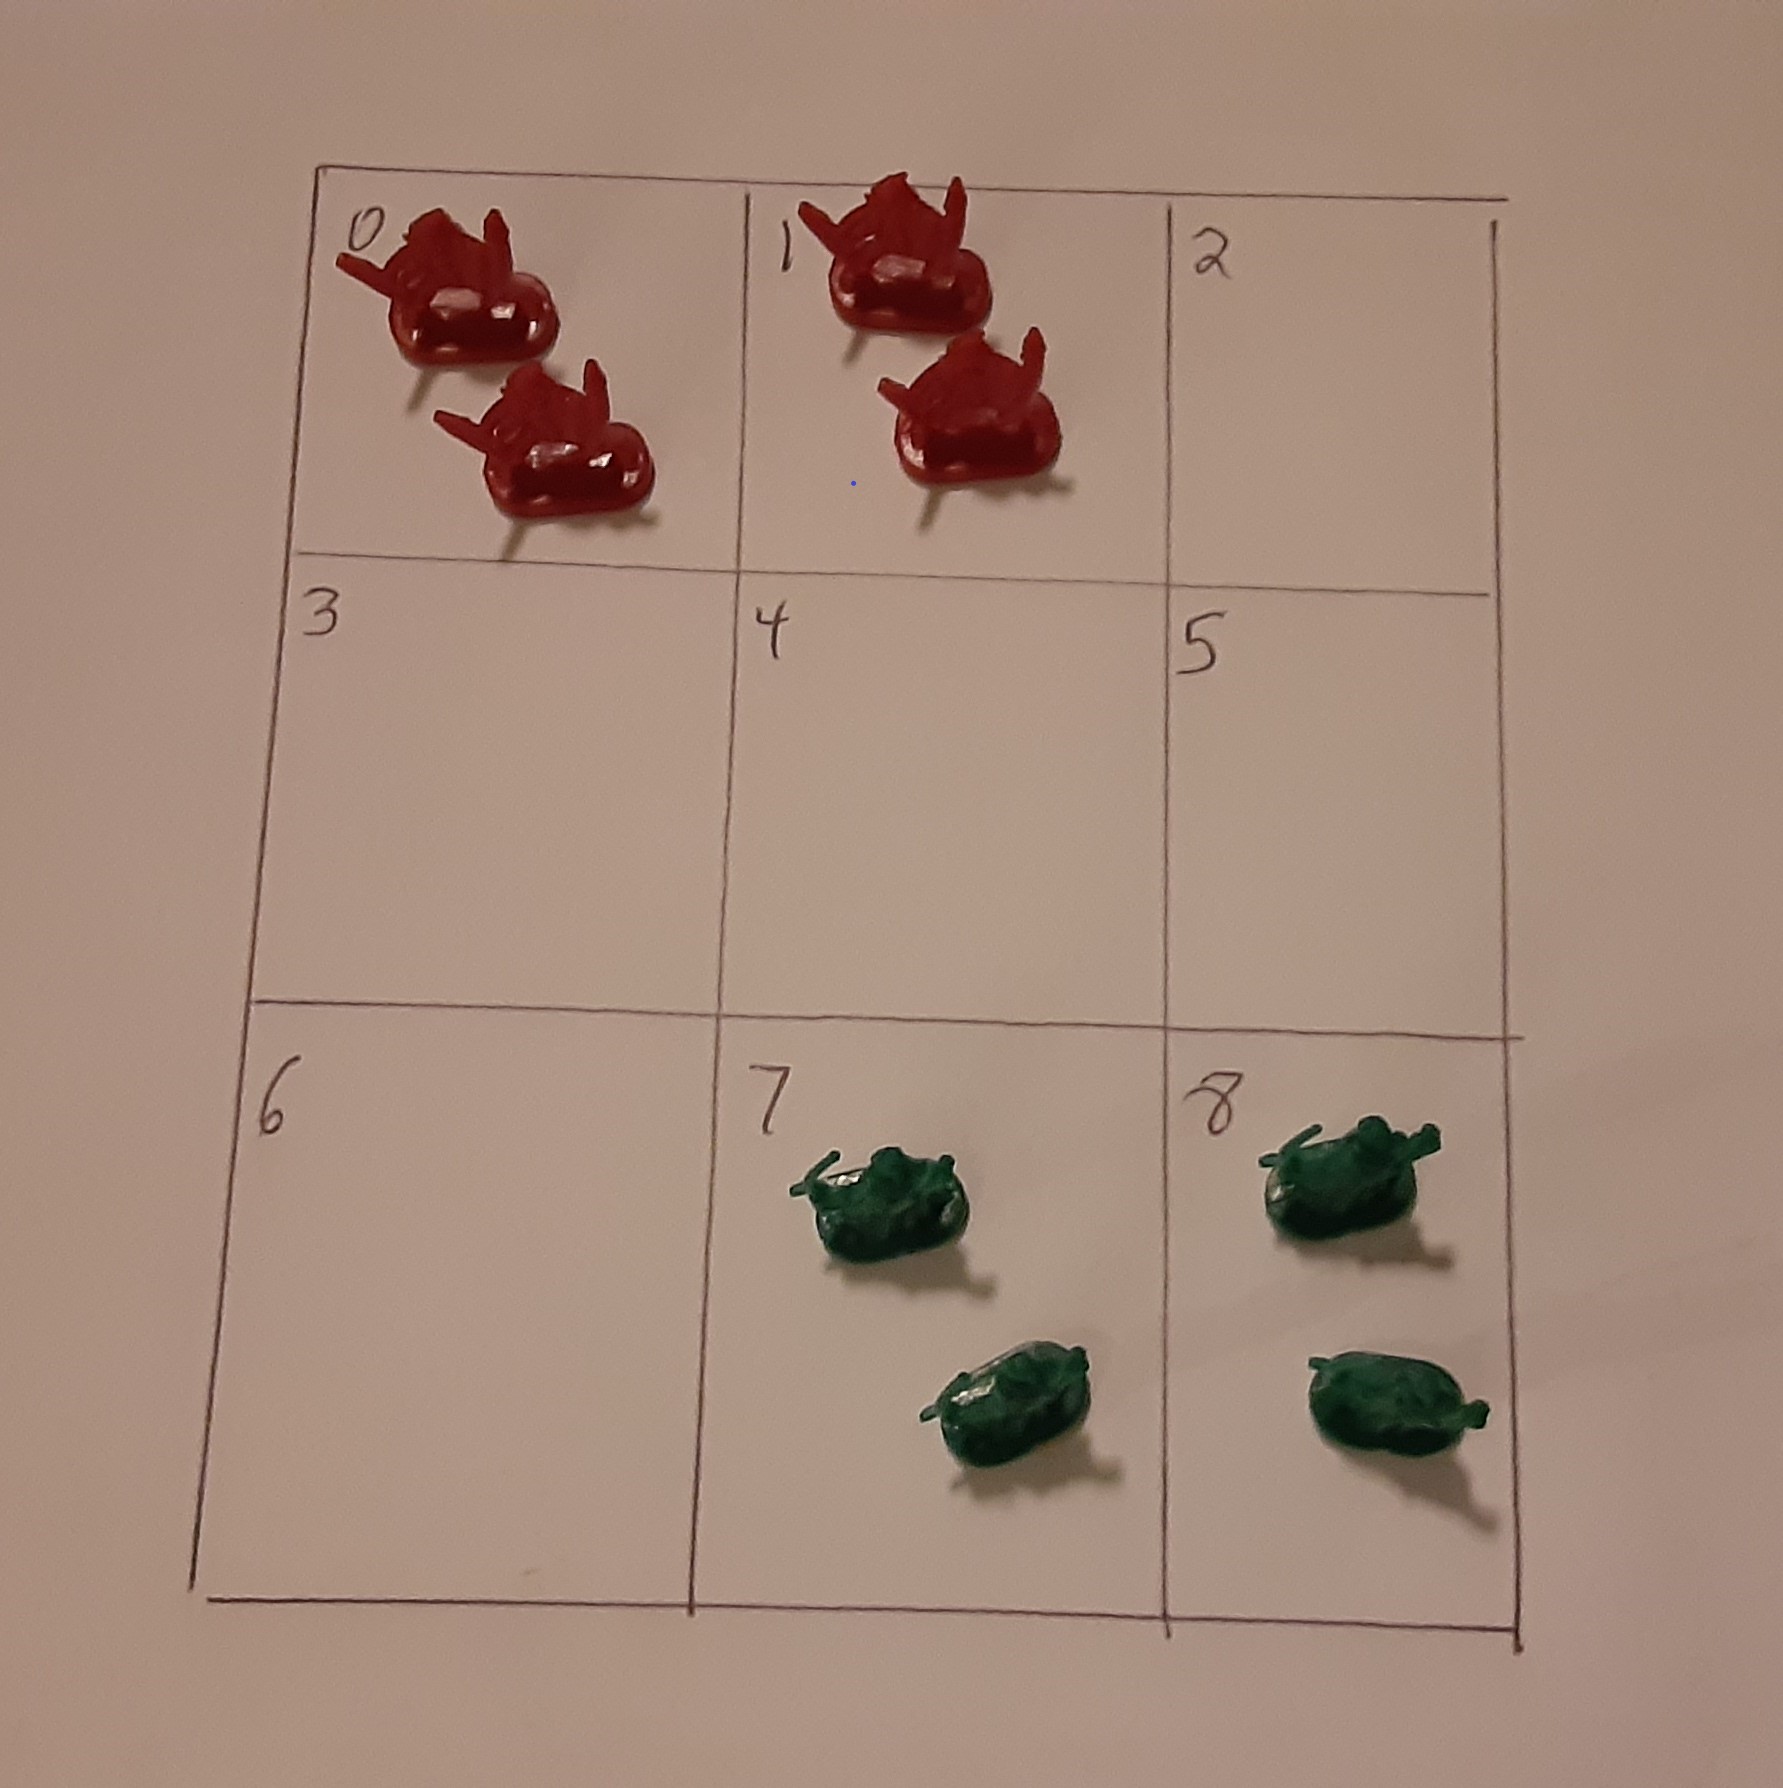
Using coins or pieces from another board game as unit markers for each side, place 2 Imperial troop unit pieces in spaces 0 and 1 and 2 Rebel troop units in spaces 7 and 8 as shown: